Blog Content

10
Aug
2026
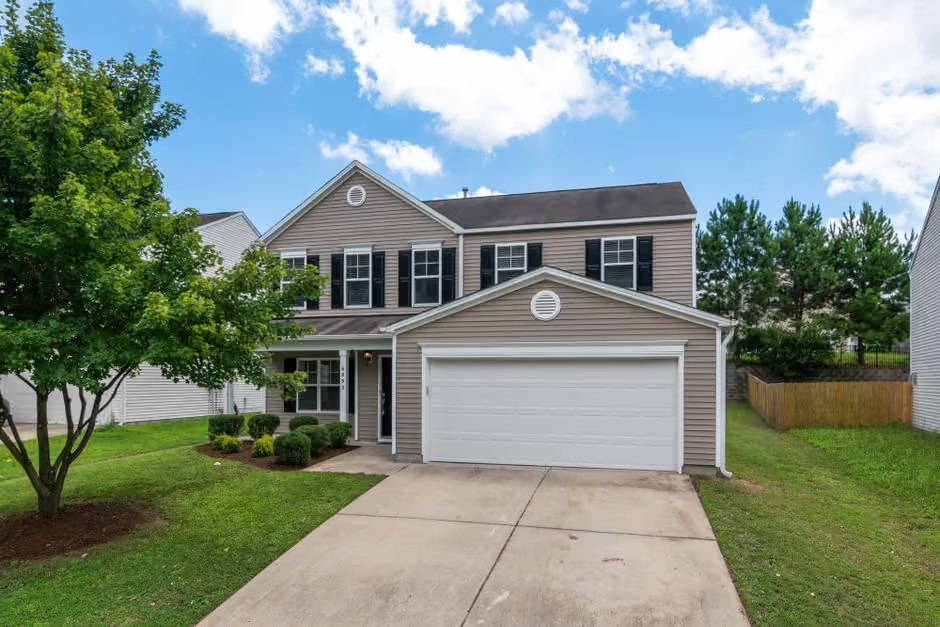
Vinyl siding J-channel around windows is one of the most critical — and most often mishandled — parts of any exterior siding job on Long Island.
Here's the quick answer if you need it fast:
How to install J-channel around windows (professional summary):
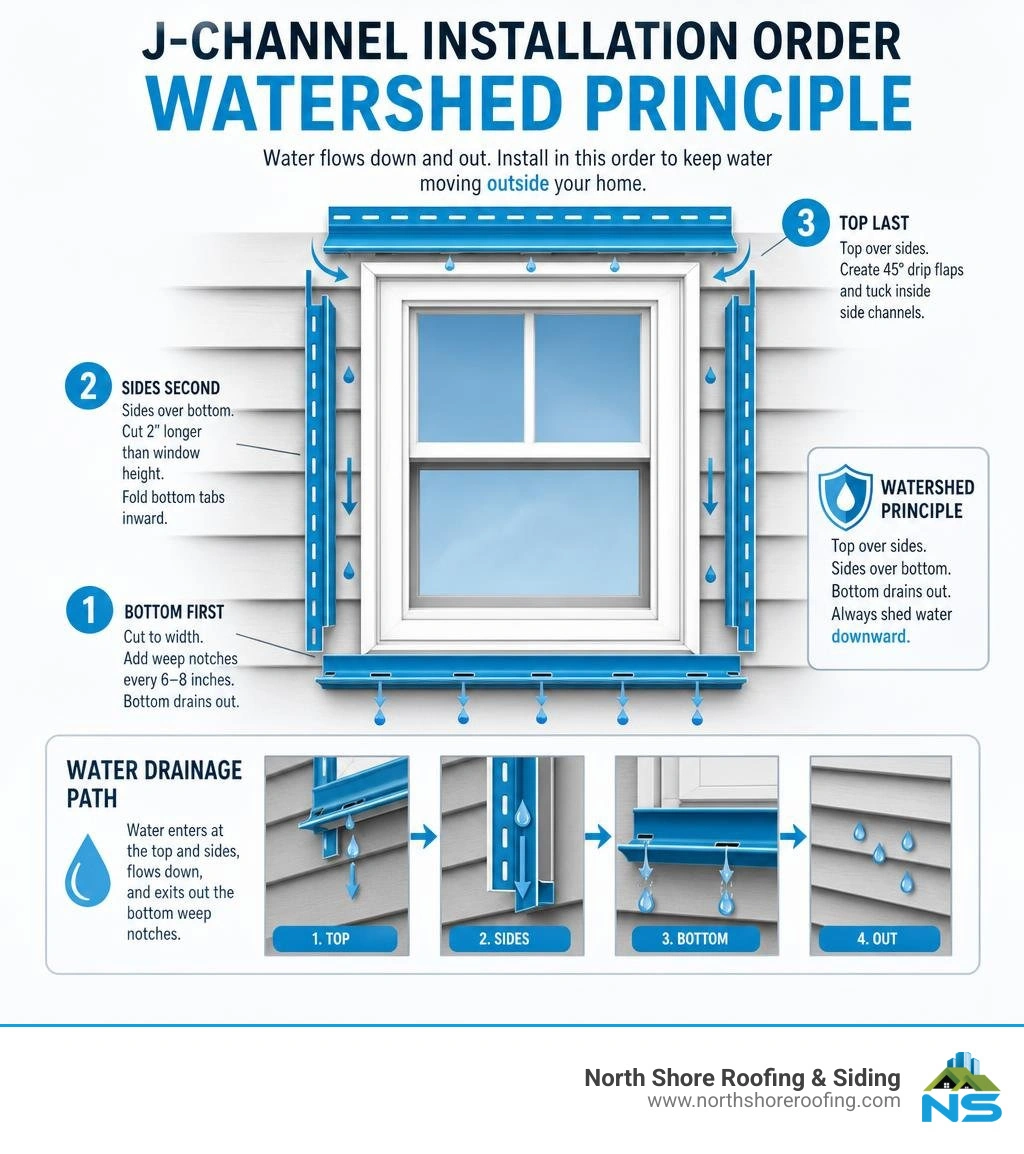
Every overlap must shed water downward. Top over sides. Sides over bottom. Bottom drains out. That's the watershed principle — and breaking it is how water gets behind your siding.
Homes across Queens, Port Washington, and the rest of Long Island face harsh seasonal swings. Vinyl siding expands and contracts significantly between winter and summer. Without properly installed J-channel, that movement causes buckling, gaps, and eventually water intrusion — leading to mold, rot, and costly structural repairs.
This isn't a job where close enough works. The details matter enormously.
Similar topics to vinyl siding j channel around windows:
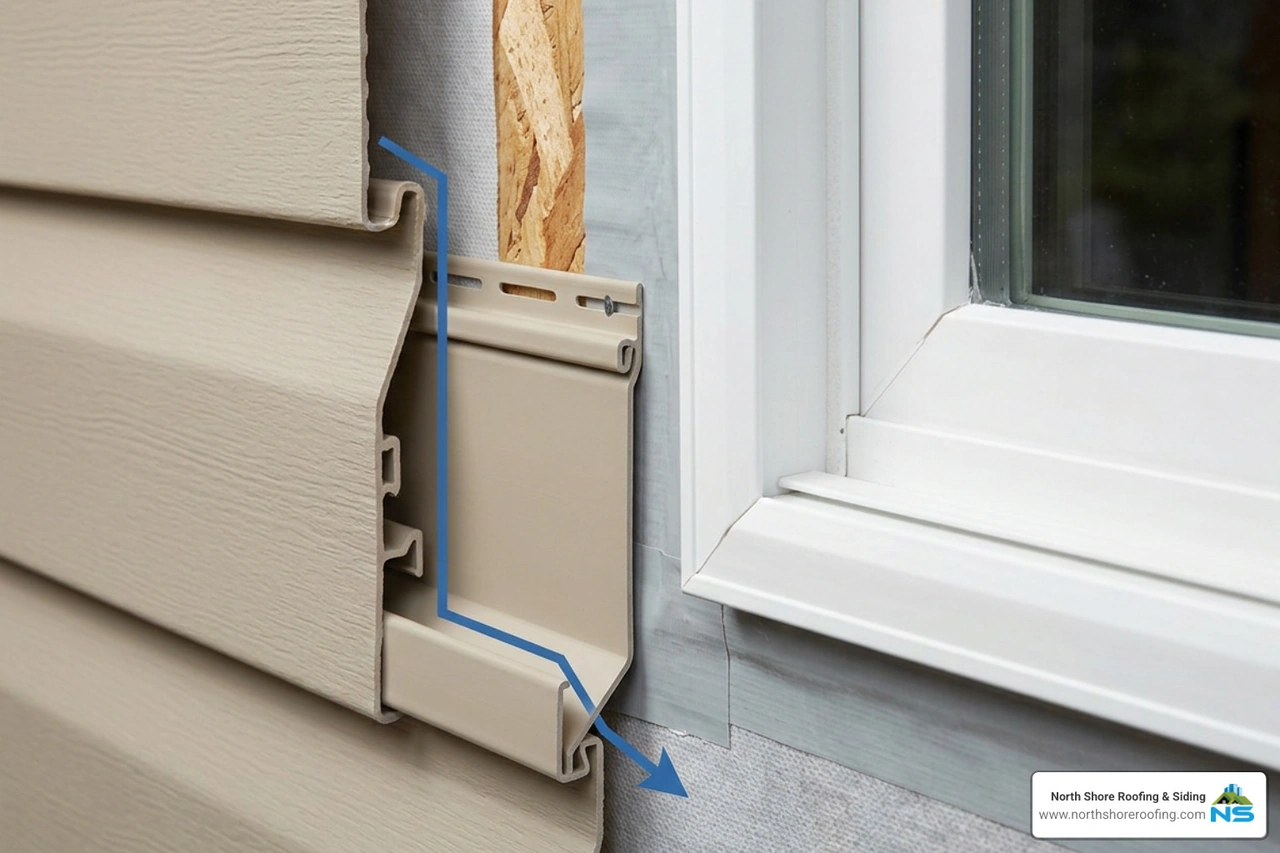
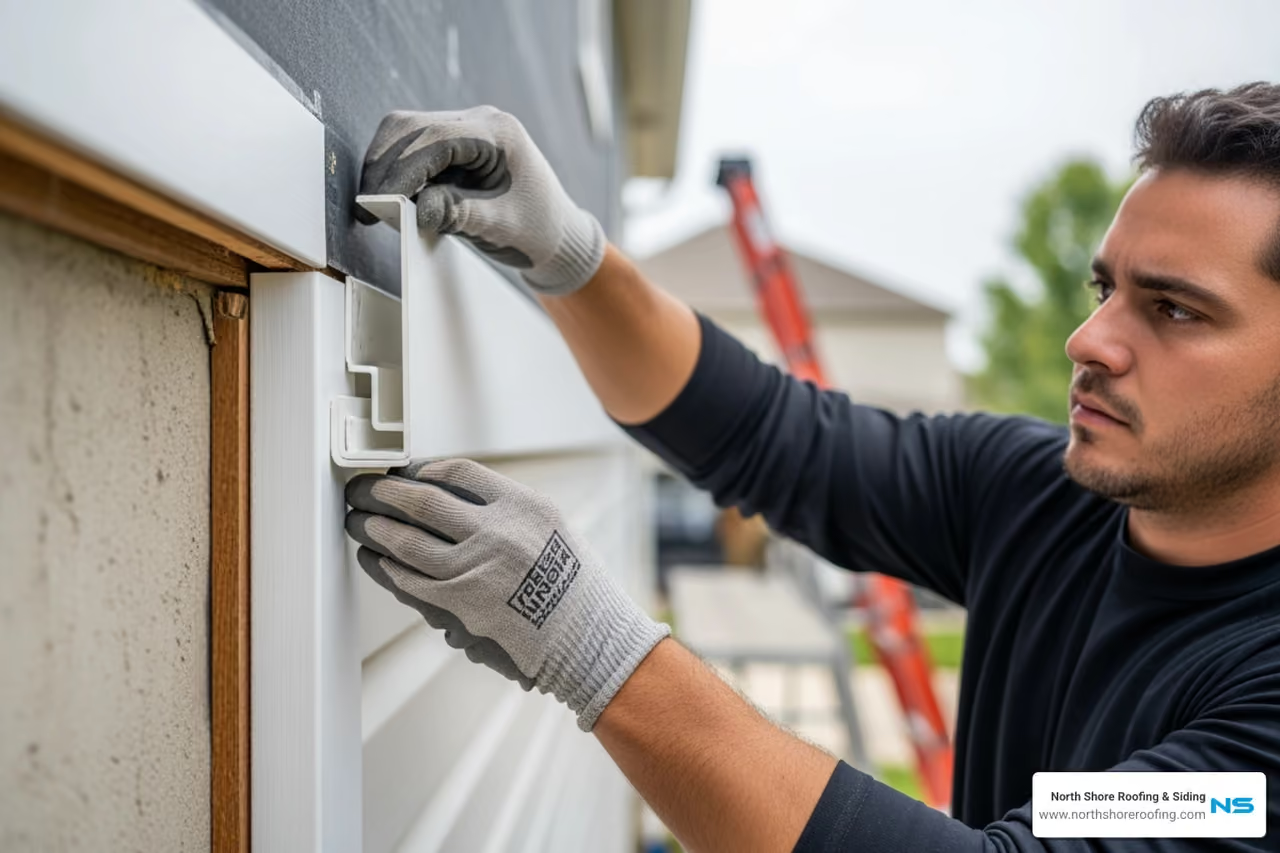
To understand why vinyl siding j channel around windows is so essential, we have to look at the mechanics of vinyl exterior trim. J-channel gets its name from its distinctive cross-section profile, which resembles the letter "J". The deep pocket of the "J" serves a dual purpose: it hides the raw, field-cut edges of your vinyl siding panels, and it channels water safely away from the window frame.
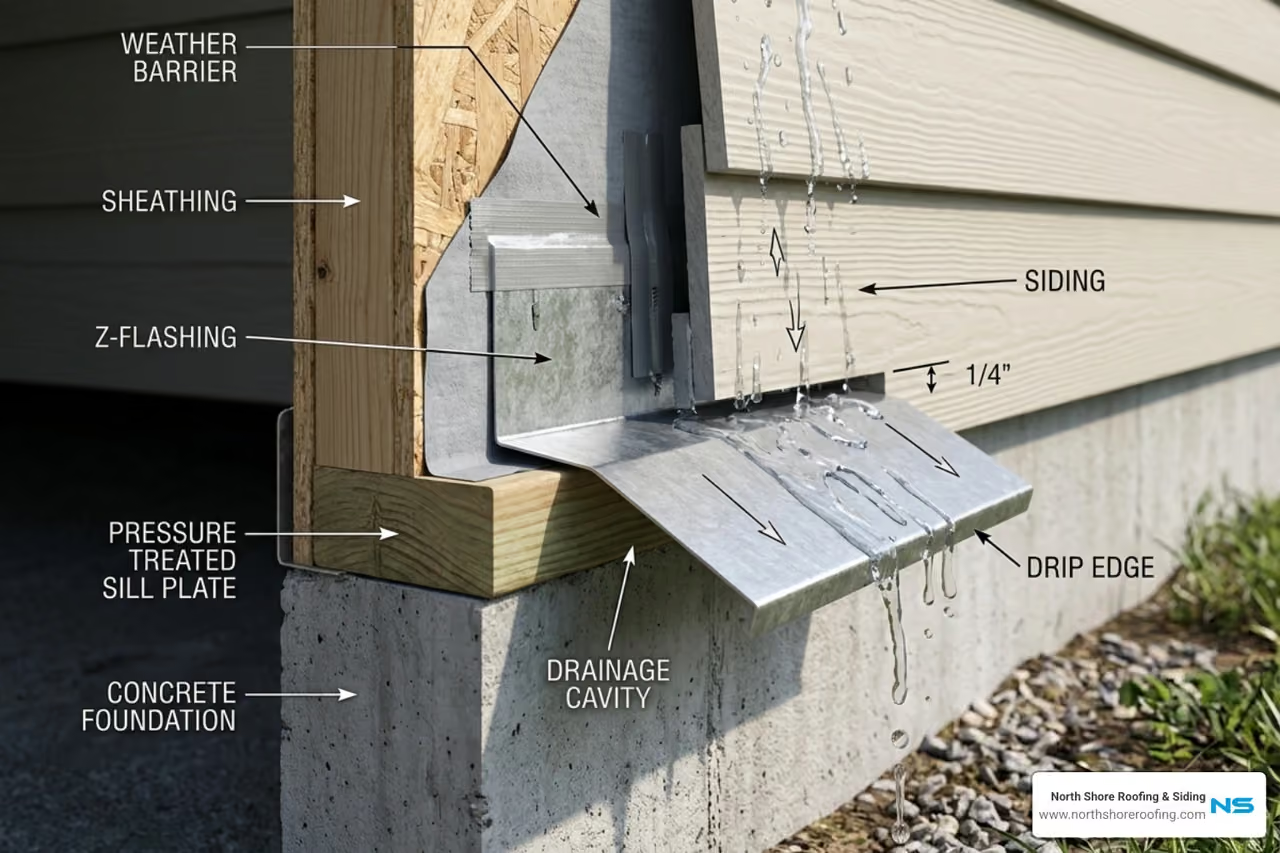
However, many homeowners and inexperienced contractors mistakenly treat J-channel as a waterproof seal. It is not. In the siding industry, we design vinyl siding as a "rain-screen system." This means we accept that a small amount of wind-driven rain will inevitably bypass the outer siding panels. The true magic of weatherproofing lies in how we manage that water once it gets behind the cladding.
By applying the watershed principle, we ensure that gravity does the work. Every layer of our siding trim must overlap the layer below it. When rain hits the top of a window, it must flow into the top J-channel, shed down the side J-channels, bypass the bottom channel, and exit onto the siding below without ever touching the wood framing of your home.
Additionally, we must account for thermal expansion and contraction. Unlike wood or fiber cement, vinyl siding is highly sensitive to temperature changes. A single 12-foot panel can expand or contract by up to a half-inch between a freezing January night and a scorching July afternoon. If your J-channel is installed too tight, or if the siding panels are jammed into the J-pocket without a proper 1/4-inch expansion gap, the vinyl will buckle, warp, and pull away from the wall.
For homes in coastal or highly exposed areas of Long Island, Queens, and Port Washington, wind-driven rain is a constant threat. Proper trim installation is the only thing standing between a dry interior and thousands of dollars in structural rot. Understanding these protective mechanics is key, as detailed in this guide on Understanding J-Channel and its protective role. If you are planning a full exterior overhaul, check out our comprehensive resource on Long Island Siding Replacement to ensure every component of your home's envelope is built to last.
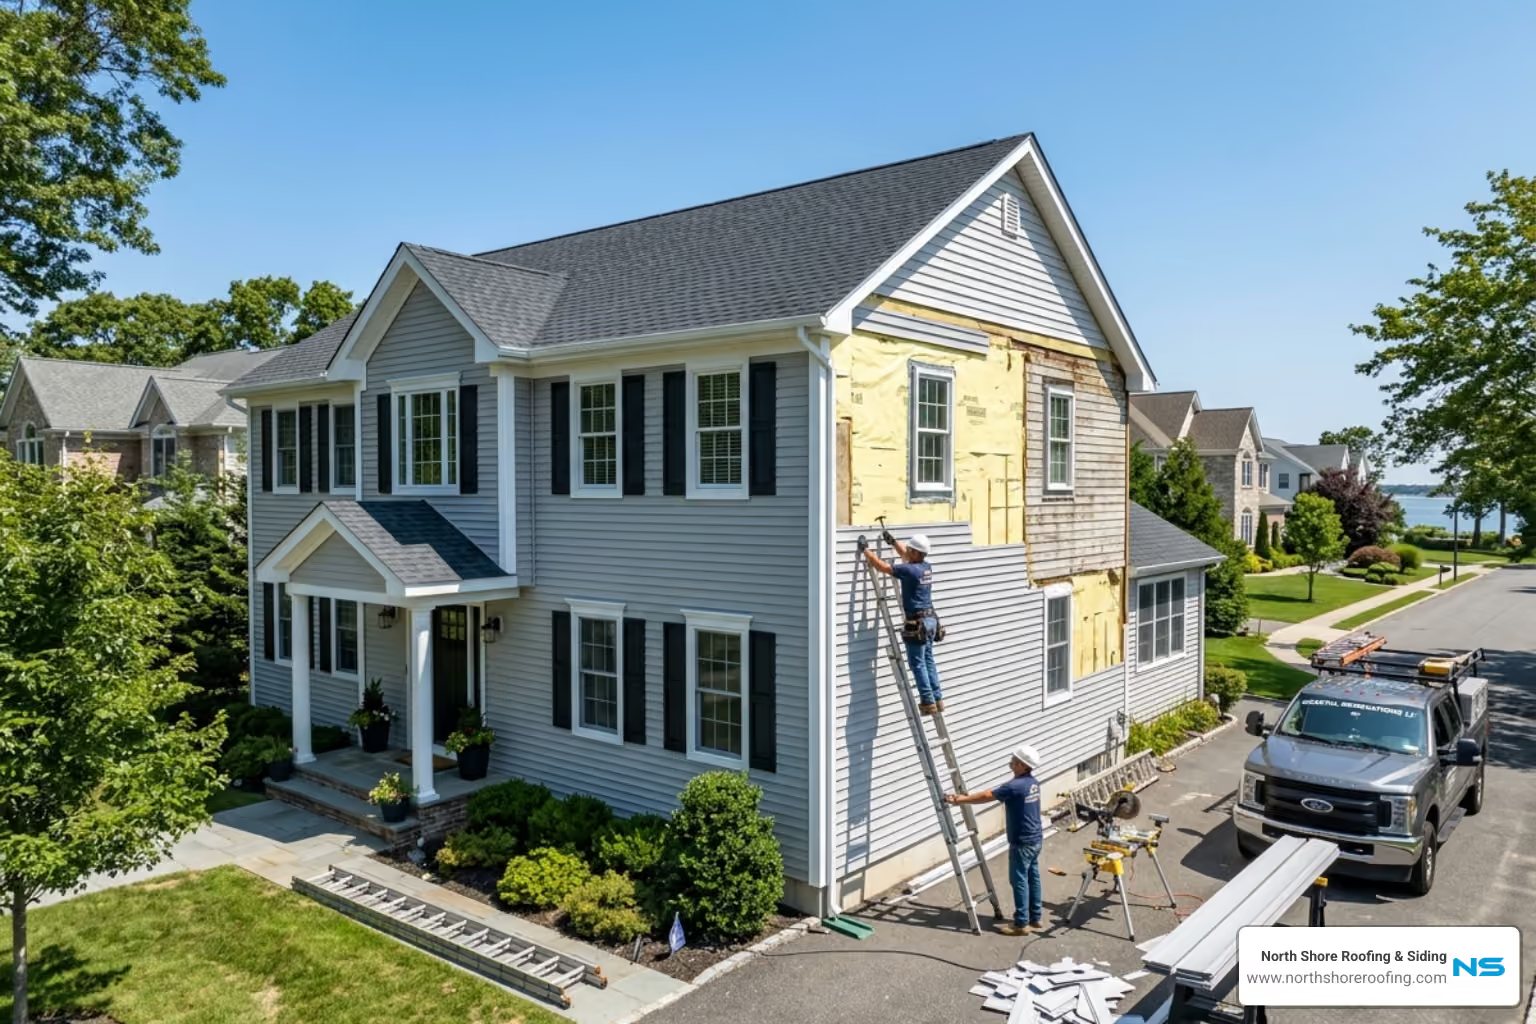
When we handle a siding project in Flushing or Bayside, we treat the window prep with the same meticulous care as a high-end roofing system. Long before a single piece of vinyl siding j channel around windows is nailed down, the window opening must be fully integrated with a high-performance Water-Resistive Barrier (WRB), self-adhering flashing tape (pan flashing), and rigid metal drip caps.
The J-channel sits on top of these waterproofing layers. If your contractor skips the flashing tape or fails to integrate the WRB with the window flanges, even a perfect J-channel installation will eventually leak.
It is also important to choose the right trim for the right location. While J-channel is the standard choice for the sides and top of a window, the bottom of the window often requires a different approach depending on where the siding courses fall.
By selecting the correct trim profile, we maintain both the structural integrity and clean aesthetics of your home's exterior. Whether we are executing a complex roof replacement or a detailed Siding Installation in Bayside, our certified crews follow these precise manufacturing standards to guarantee a lifetime of weather protection.
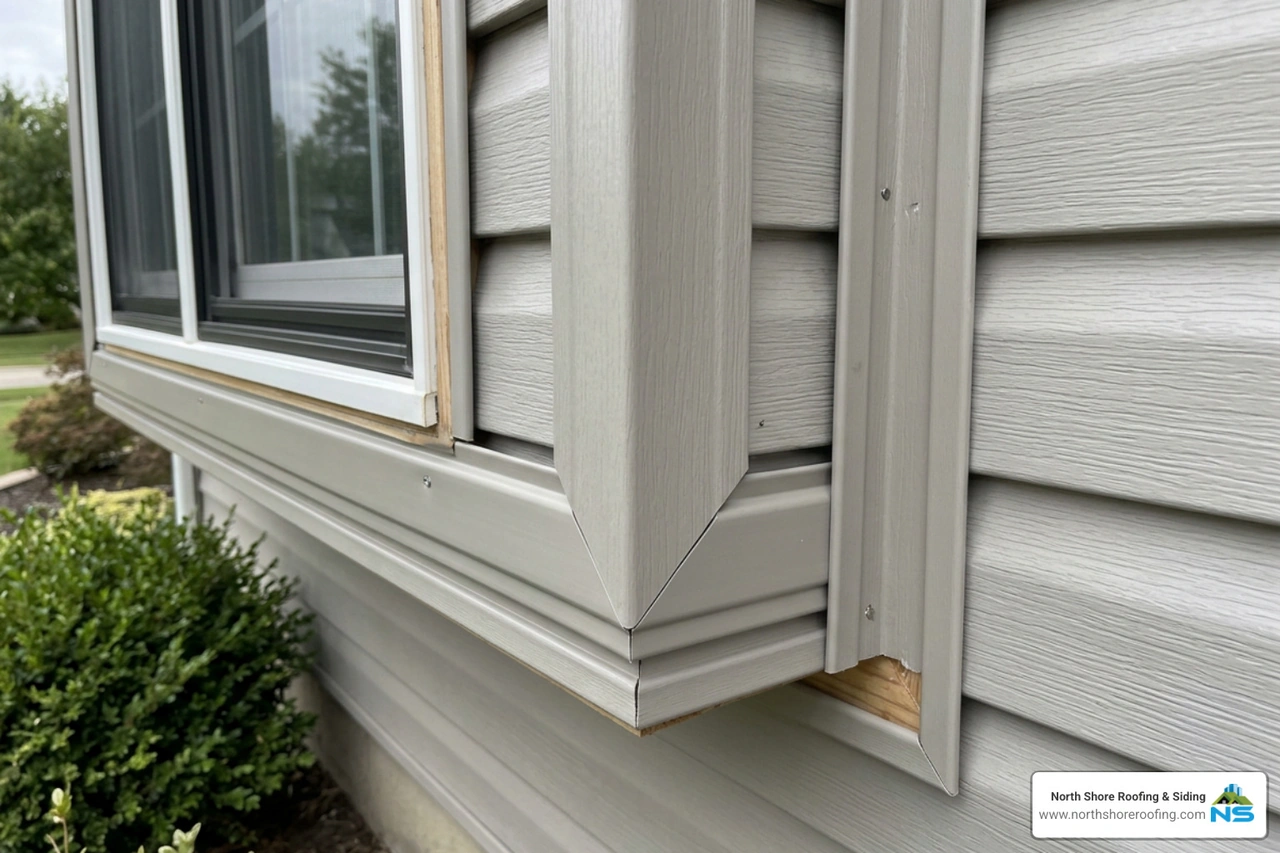
While DIY guides make this process look simple, achieving a watertight, professional-grade finish around windows requires specialized tools and strict adherence to a specific sequence. For homeowners in Manhasset, Long Island, and Queens, we highly recommend hiring licensed professionals to perform this work. If you choose to tackle this, here is the exact step-by-step process our team uses to install vinyl siding j channel around windows:
Before cutting any vinyl, verify that the window flashing and WRB are installed in accordance with ASTM E2112 standards. Measure the exact width and height of the outer window frame.
To ensure proper lapping, you must add extra length to your cuts. The golden rule is to add twice the width of the J-channel's front face to your measurements. For a standard 1-inch J-channel, this means adding 2 inches to the total length of each piece (1 inch for each side of the overlap).
For a deeper dive into these technical cutting and folding methods, consult the Detailed guide on installing J-channel around windows by Fine Homebuilding. If you prefer to leave this highly technical work to a certified local team, our Vinyl Siding Installation Service NY is always available to assist homeowners in Manhasset and surrounding areas.
While J-channel is highly effective on the top and sides of a window, using it directly below a window sill can sometimes lead to structural failure. This is especially true on wider windows or when the horizontal siding course must be cut close to the nail flange to fit under the window frame.
When you cut off the top nailing hem of a vinyl siding panel to fit it under a window, that panel loses its mechanical connection to the wall. If you simply tuck that raw, cut edge into a standard J-channel, it will have nothing holding it in place. During a high-wind storm on the North Shore of Long Island, wind can get behind the panel, rattle it loose, and blow it completely off the wall.
This is where undersill trim (also known as utility trim) becomes necessary. Undersill trim features a unique hooking profile designed to grip the vinyl siding.
To install it properly:
Using this method prevents wind damage and keeps your exterior looking pristine. For more information on siding panels and material specifications, read our Siding Panel Replacement Cost Guide, which is highly relevant for homeowners in Locust Valley looking to upgrade their home's exterior performance.
Improper trim installation is one of the leading causes of exterior home damage in Long Island and Queens. When J-channel is installed incorrectly, it acts as a funnel, trapping moisture against your home’s wood sheathing. Over time, this hidden moisture leads to sheathing rot, toxic mold growth, and structural framing failure.
Furthermore, poor nailing practices can ruin your home's curb appeal. If the vinyl cannot move during temperature swings, it will buckle, creating a wavy, distorted appearance across your walls. If you are facing these issues, understanding the House Siding Replacement Cost NY can help you budget for a professional remediation that corrects these underlying structural errors.
To protect your home, make sure your installation avoids these four critical errors:
Yes, in almost all standard vinyl siding retrofits, J-channel is absolutely necessary. It is the only standard trim piece designed to hide the raw, cut edges of vinyl panels while allowing them the room they need to expand and contract.
However, there is an alternative. If you are replacing your windows at the same time as your siding, you can order new construction windows that feature built-in J-pockets (or integrated J-channels) built directly into the vinyl window frame. This eliminates the need to install separate J-channel trim, resulting in a cleaner, more seamless transition between the window and the siding.
You can perform a basic inspection with a simple visual perimeter walk around your home. Look for the following warning signs:
Yes, it is possible to retrofit or replace damaged J-channel, but it is a delicate process. It requires using a siding zip tool to carefully unlock the surrounding siding panels, pulling the nails out of the damaged J-channel, installing the new trim with proper flashing overlaps, and then re-locking the siding panels. Because this process can easily crack older, brittle vinyl siding, we highly recommend having a professional siding contractor assess the damage and perform the repair.
Achieving a leak-free, beautiful exterior is all about precision. From the initial flashing tape to the final mitered cuts on your vinyl siding j channel around windows, every detail plays a massive role in protecting your home from the elements.
While DIY videos make these projects look like a breeze, local building codes, high-wind coastal conditions, and the technical demands of the watershed principle mean that professional installation is always your safest bet.
At North Shore Roofing & Siding, we bring decades of local expertise to every project across Long Island and Queens — including Port Washington, Flushing, Bayside, Locust Valley, and Manhasset. Our fully licensed and certified team is proud to offer honest pricing, premium materials, and craftsmanship that consistently exceeds expectations. While we are widely recognized as the area's premier residential and commercial roofing experts, we apply that very same level of rigorous technical standards to our custom siding and gutter installations.
Don't let a minor trim mistake turn into a major structural headache. Contact us today to schedule your free consultation, and let our family protect yours with our professional Siding Installation Services NYC.
Copyright 2022 North Shore Roofing & Siding | All Rights Reserved | Sitemap | Website by Plumb Development a Digital Marketing Agency