Blog Content

29
Jun
2026
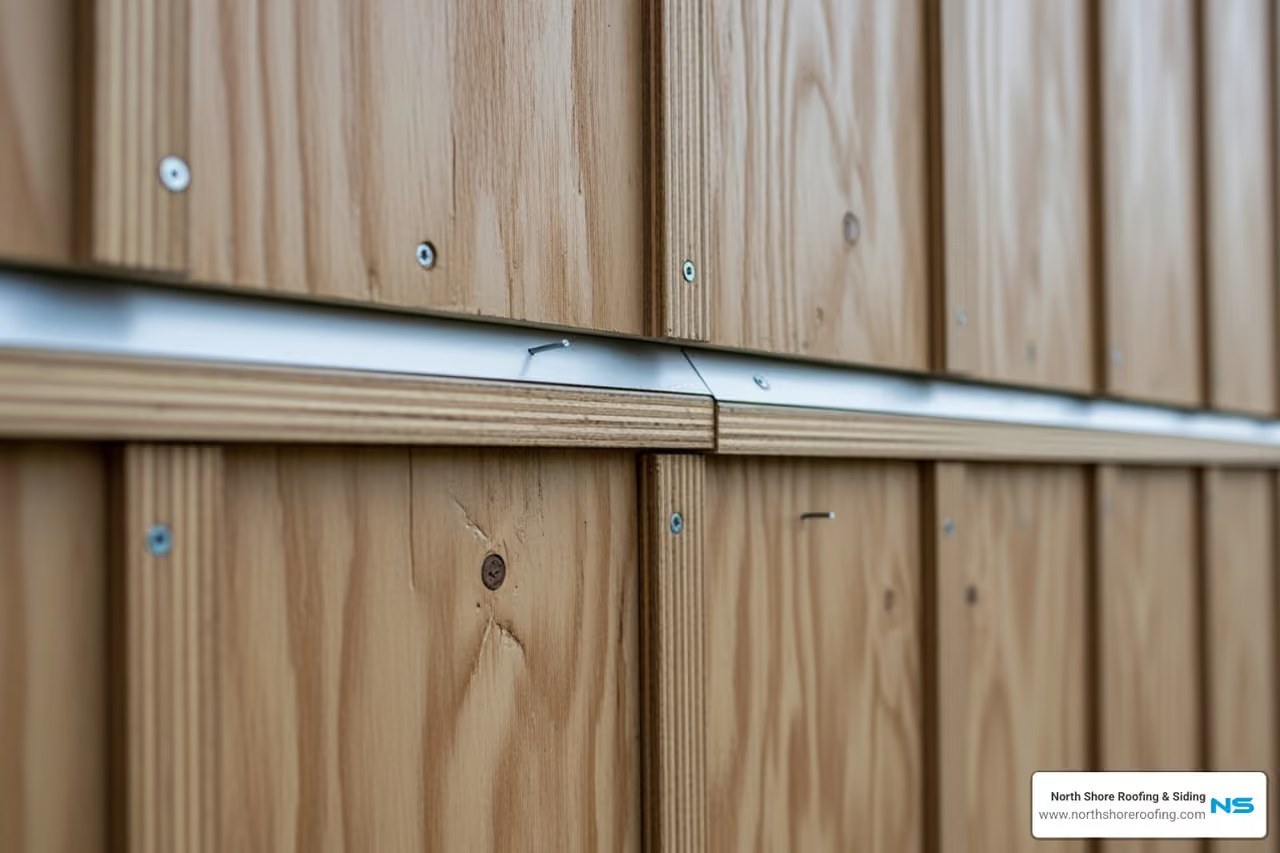
Z flashing for T1-11 siding is one of the most important — and most overlooked — details in exterior wall construction. If your home or building has T1-11 plywood siding on walls taller than 8 feet, here's what you need to know right away:
Quick Answer: How Z Flashing Works on T1-11
Long Island and Queens homeowners know how punishing the weather can be. Between the coastal winds off the North Shore, heavy seasonal rain in Bayside, and the humidity that rolls through Port Washington each summer, unprotected siding joints don't last long.
T1-11 siding is especially vulnerable. Its exposed horizontal joints act like a funnel for water. Without proper flashing, moisture wicks into the end grain of the plywood and rot sets in — sometimes within just a few years. This is exactly why International Building Code Section 1405.4 requires flashing at all horizontal siding joints.
The fix isn't complicated, but the details matter. A small mistake — like caulking the wrong gap or nailing through the flashing — can make things worse instead of better.
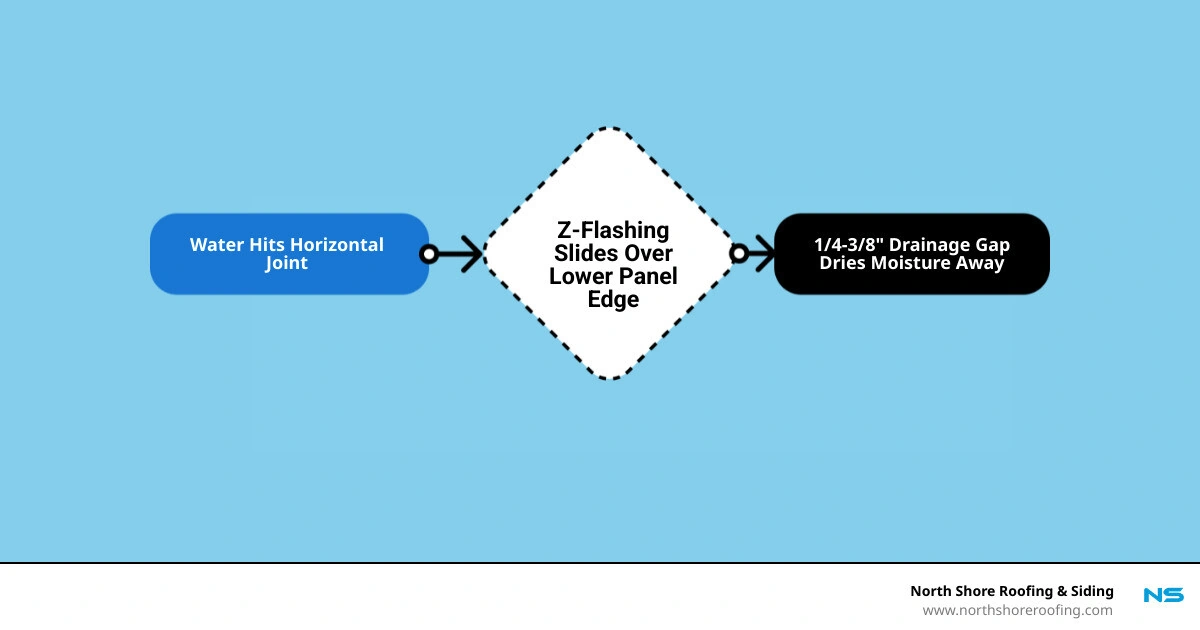
Z flashing for t1 11 word roundup:
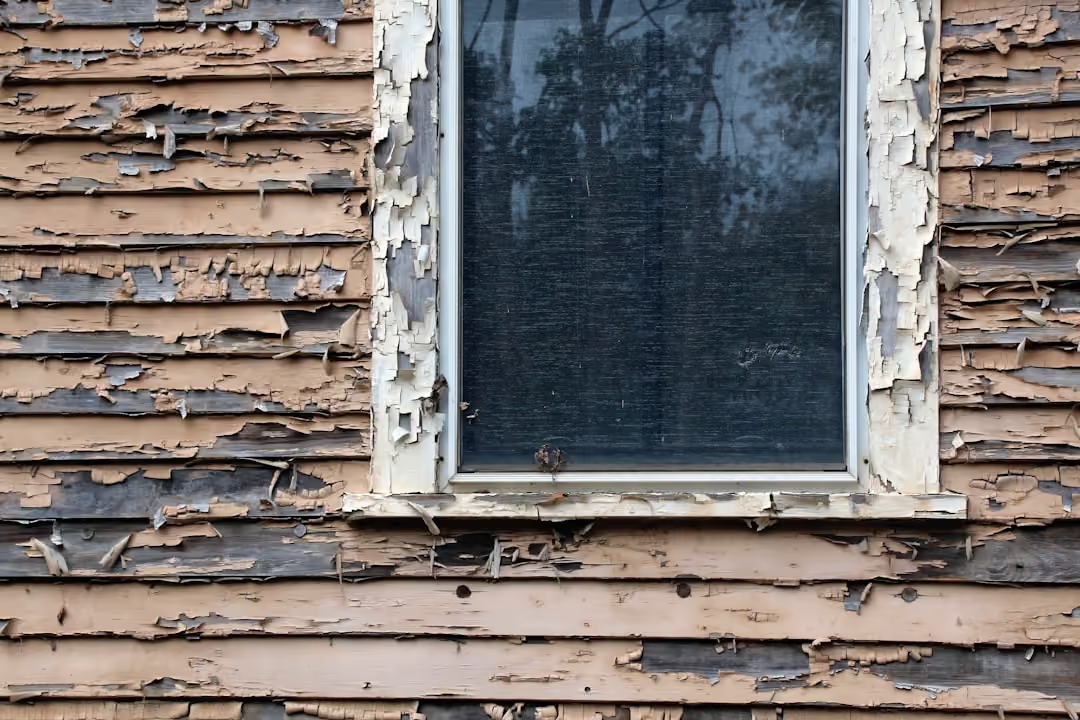
When we look at a home in Port Washington or Bayside, we aren't just looking at the aesthetics; we're looking at the building's "envelope." T1-11 siding, while a classic and affordable choice for many Queens and Long Island homes, has a major weakness: its end grain.
Because T1-11 is essentially a heavy-duty plywood, the bottom edges of the panels are incredibly thirsty. Through a process called water wicking (or capillary action), moisture from rain or humidity is pulled upward into the wood. In Locust Valley, where coastal winds can drive rain sideways against your home, this wicking is accelerated. Without z flashing for t1 11, water sits on the flat horizontal joint where two panels meet, soaking into the wood and causing it to swell, delaminate, and eventually rot.
The International Building Code (IBC) Section 1405.4 is very clear on this: "Flashing shall be installed in such a manner so as to prevent moisture from entering the wall or to redirect that moisture to the exterior." We have seen countless homes where a simple bead of caulk was used instead of metal flashing. Caulk eventually fails, cracks, and then acts as a dam, trapping water inside the joint. Properly installed z flashing for t1 11 provides a mechanical, permanent solution that gravity-feeds water away from your home's structure. For more on how these systems integrate with your home's exterior, check out our siding installation services or learn How To Install Z Flashing On T1-11 Siding.
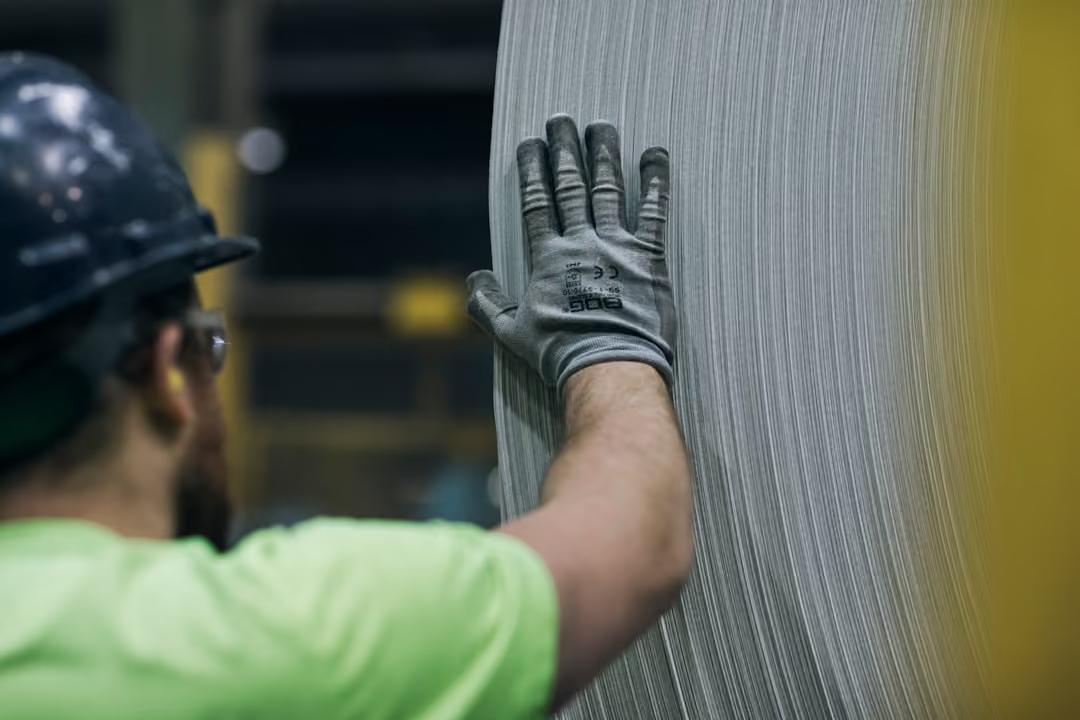
In the high-end markets of Manhasset and Locust Valley, we hold our installations to the highest possible standards. You don't just want any metal; you want the right material for our salt-air environment. For most applications, we use 5/8-inch galvanized steel Z-flashing. Galvanized steel offers superior protection against the harsh weather conditions found across Long Island.
Professional installation starts with choosing a flashing that matches your siding thickness. If you have 5/8-inch T1-11, using a 5/16-inch flashing will result in a poor fit that won't allow the upper panel to seat correctly. We often see "big box" store flashing that is quite thin—sometimes thinner than a soda can. For a truly durable result that matches the residential roofing overview standards we provide, we recommend professional-grade materials that won't easily buckle or deform over time.
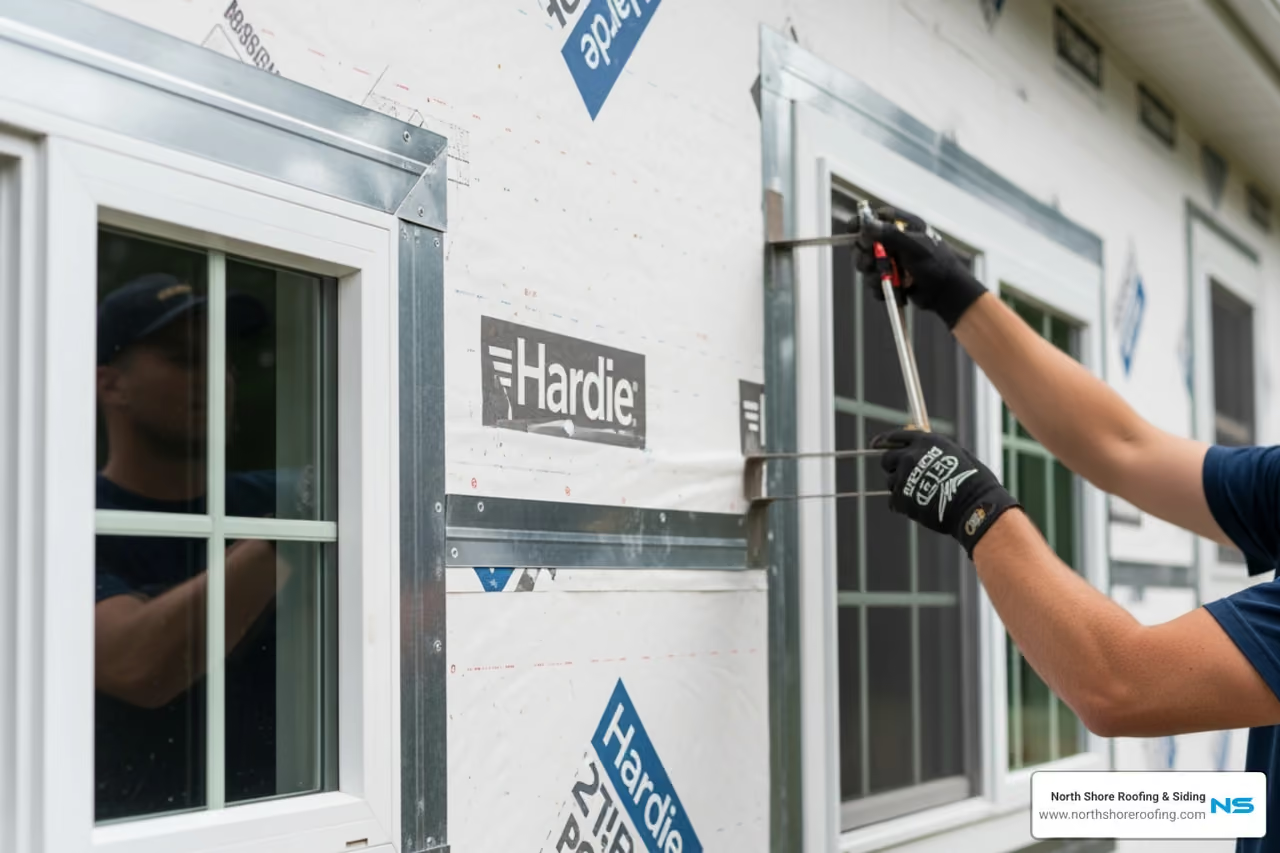
Precision is everything when we're working on a Flushing renovation or a Bayside exterior upgrade. We typically purchase Z-flashing in 10-foot lengths. To get a perfect fit, we use high-quality tin snips to cut the metal to size.
One of the most critical professional standards is the overlap. You should never just butt two pieces of flashing together. We ensure a minimum 2-inch overlap at every joint. To make this joint truly watertight, we apply a high-quality sealant between the overlapping layers of metal. This prevents wind-driven rain from sneaking through the seam and reaching the sheathing behind the siding.
A common mistake we see in Manhasset DIY projects is nailing directly through the face of the flashing. Every time you drive a nail through the front of the Z-bar, you're creating a hole for water to enter.
Our team follows these strict securing rules:
By maintaining this structural integrity, we ensure that our residential roofing services in NYC and siding projects stand up to decades of weather.
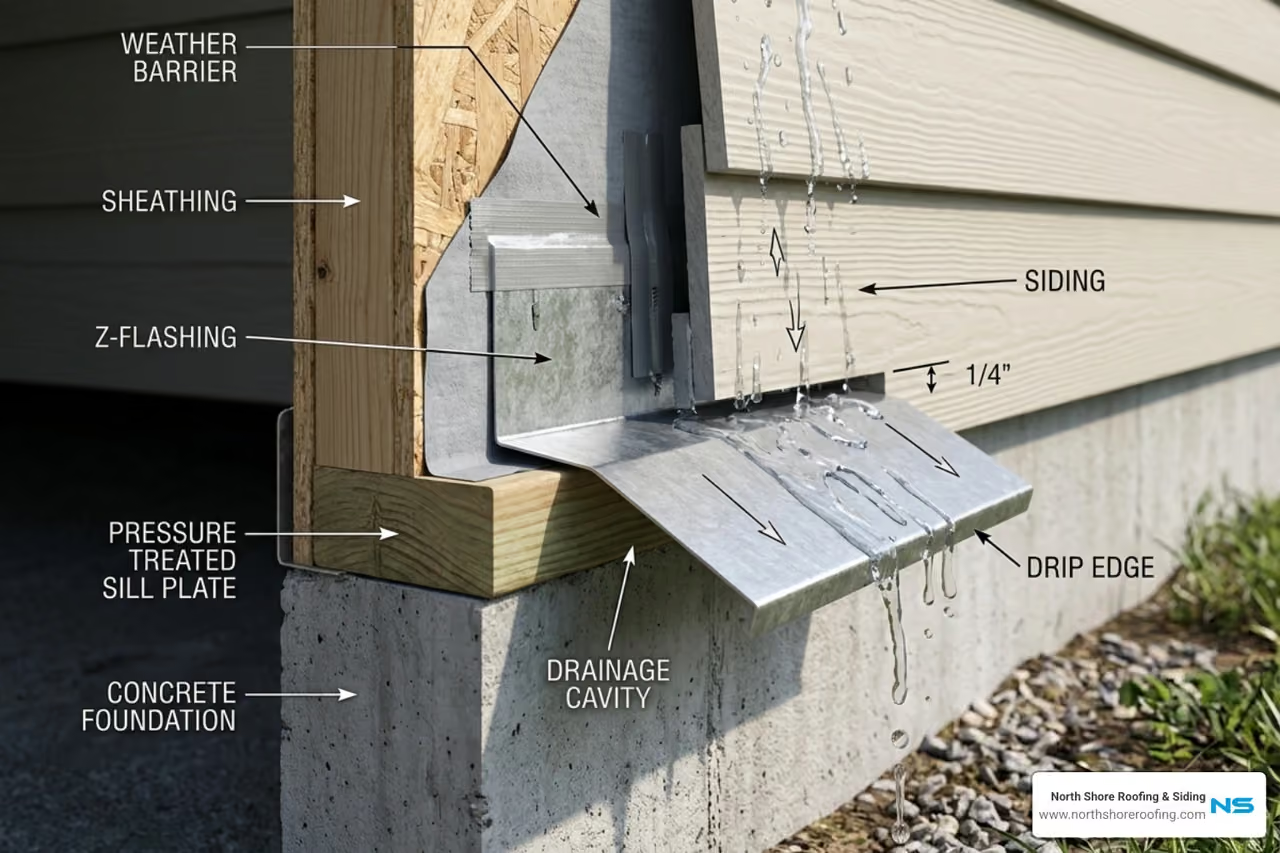
One of the most misunderstood aspects of z flashing for t1 11 is the "drainage gap." Many homeowners think a tight fit is a good fit. In reality, a tight fit is a recipe for rot.

In Long Island, seasonal expansion and contraction are significant. Wood expands when it's humid and shrinks when it's dry. If you don't leave at least a 1/4-inch gap between the top of the Z-flashing and the bottom of the upper T1-11 panel, moisture will get trapped. This gap allows for drainage and prevents capillary action from pulling water up into the upper panel. For more technical debates on this, you can read the T1-11 z-flashing and water discussion on HomeOwnersHub.
It seems counterintuitive, right? You want to keep water out, so you reach for the caulk. Stop! This is perhaps the most dangerous mistake you can make with z flashing for t1 11.
In Flushing and Port Washington, the humidity levels can lead to condensation forming behind your siding. If you caulk the gap between the upper siding panel and the flashing, you are effectively sealing off the exit. That moisture has nowhere to go, so it sits against the wood, leading to mold, mildew, and structural decay.
Think of Z-flashing as a gutter for your wall. A gutter doesn't work if you seal the downspout. By leaving the bottom edge of the upper panel open, you allow the wall to "breathe" and drain. This is a principle we apply to all our work, whether we are performing a vinyl siding installation in NY or working with wood composites.
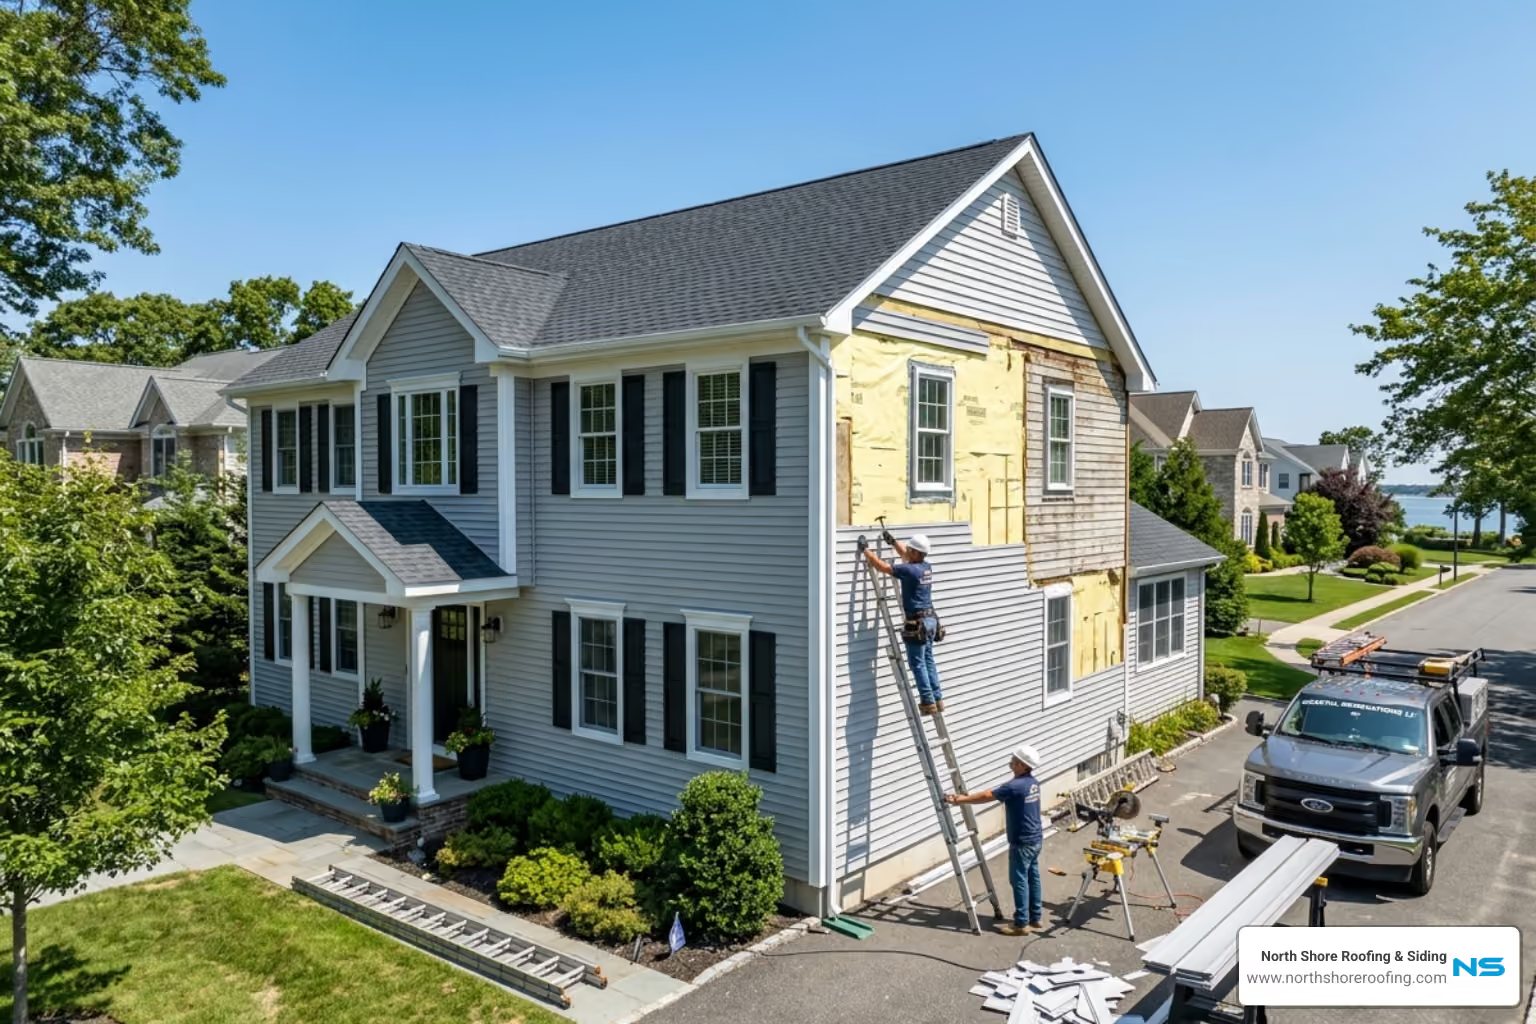
Many of the homes we service in Manhasset, Bayside, and Flushing were built in the 1970s or 80s when flashing standards were different—or ignored entirely. If you have existing T1-11 siding that is starting to rot at the bottom, you don't necessarily need to replace the entire wall.
We can often perform a retrofit. This involves:
This process is a specialty of ours, ensuring that even older homes in Locust Valley can benefit from modern moisture management. If you are considering a more extensive upgrade to natural wood, our cedar siding installation service in NY is a popular choice for local homeowners.
The ideal gap is 1/4-inch to 3/8-inch. This gap is large enough to prevent water from "jumping" via capillary action from the flashing back into the wood, and it's small enough to remain aesthetically pleasing. In Long Island, where we deal with significant rain, this gap is the difference between a siding job that lasts 30 years and one that rots in five.
Yes, it can. As mentioned above, it requires precision work with a circular saw and a steady hand. By releasing the bottom nails of the existing siding, we can "tuck" the flashing up behind it. This is a common repair in Queens for homes that have a horizontal trim board at the foundation level that has caused the siding above it to rot.
While you can find basic galvanized steel flashing at big-box stores in Hempstead or Flushing, we recommend sourcing professional-grade materials. Look for 0.010-inch thickness or greater. If you are in Locust Valley or Manhasset, local building supply yards often carry the heavier-duty galvanized or pre-finished aluminum options that provide better longevity than the standard retail versions.
Properly installing z flashing for t1 11 is more than just a "good idea"—it's a requirement for a healthy, long-lasting home in Long Island and Queens. From the coastal humidity of Port Washington to the dense residential neighborhoods of Bayside and Flushing, moisture is the enemy of your siding.
At North Shore Roofing & Siding, we pride ourselves on our local expertise and honest pricing. Whether you need a small retrofit in Manhasset, a full siding replacement in Locust Valley, or professional advice on your home's exterior, our licensed and certified team is here to exceed your expectations. We don't just "install" siding; we engineer solutions that protect your investment for the long haul.
Ready to protect your home from the elements? Contact us today for a consultation or explore our siding installation services in NYC to see how we can help your home stay dry and beautiful for years to come.
Copyright 2022 North Shore Roofing & Siding | All Rights Reserved | Sitemap | Website by Plumb Development a Digital Marketing Agency